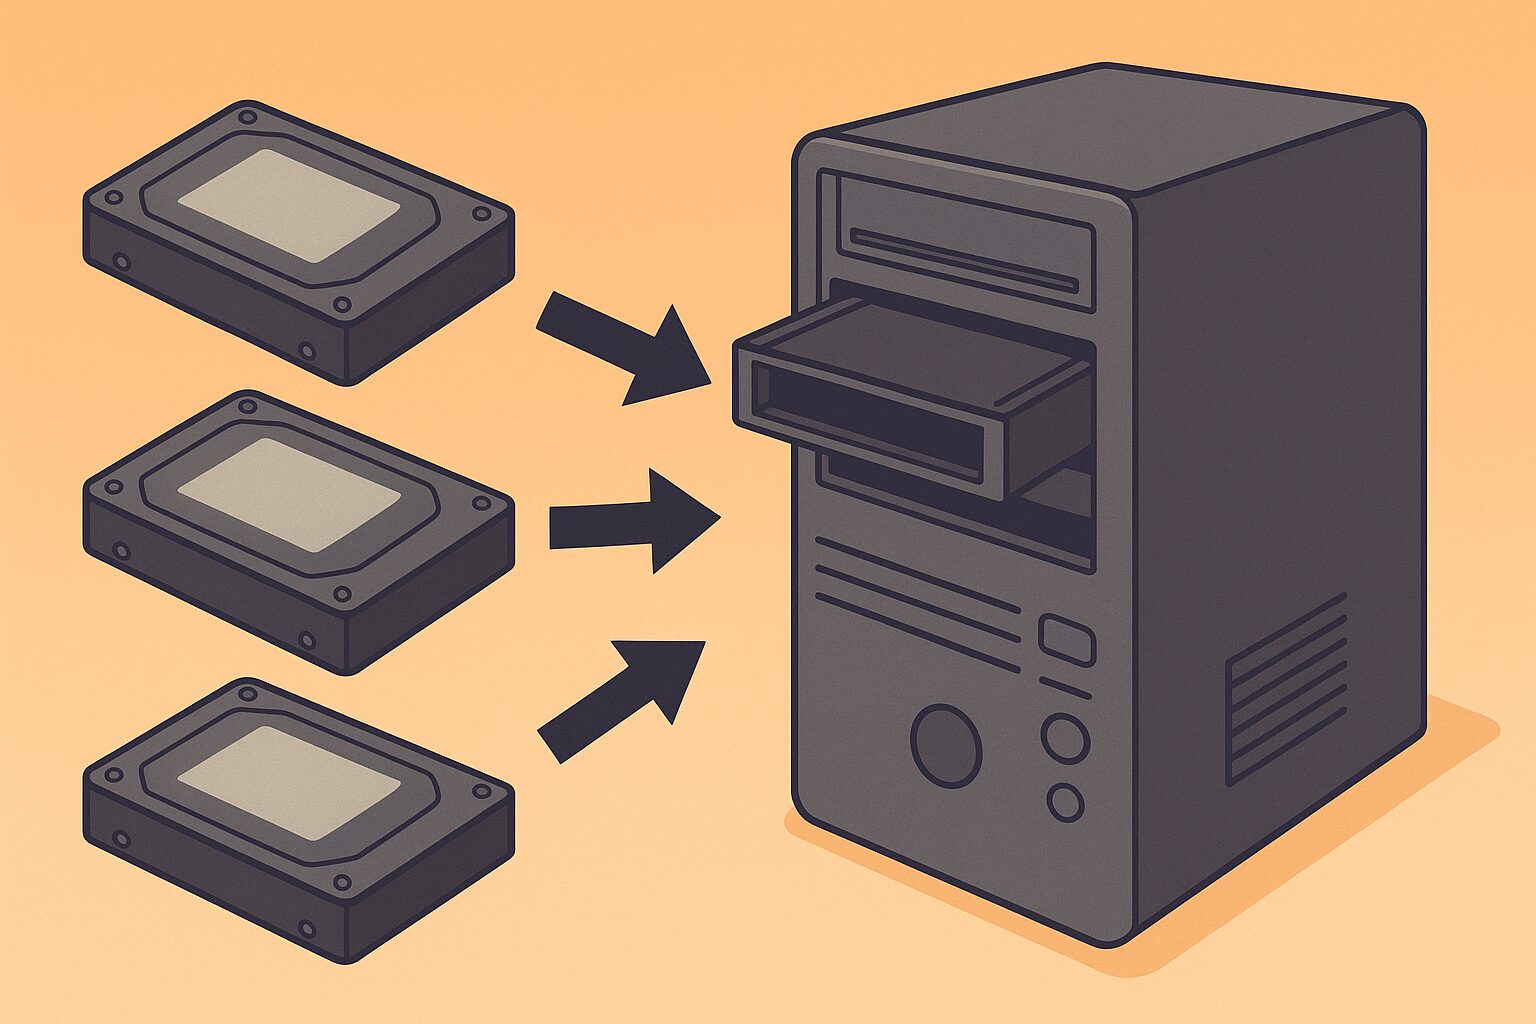
Form multiple drives into a single mountable drive on Ubuntu
This is a script which does the above. I have three additional drives on my Ubuntu box which I wanted to amalgamate into a single mount for my media resources for sharing. I could have done it manually, one drive at a time, but why not spend hours working on a bash script that does it in less than a minute and I could use again (someday) or you might want to be able to use it for your own media server.
#!/bin/bash
set -e

# === CONFIGURATION ===
DISKS=("/dev/sdb" "/dev/sdc" "/dev/sdd")
VG_NAME="mediavg"
LV_NAME="medialv"
MOUNT_POINT="/mnt/media"
FS_TYPE="ext4"

echo "=== STEP 1: Wiping existing data and creating GPT partitions ==="
for disk in "${DISKS[@]}"; do
    echo "Wiping and partitioning $disk"
    sudo wipefs -a "$disk"
    sudo parted -s "$disk" mklabel gpt
    sudo parted -s "$disk" mkpart primary 0% 100%
done

sleep 2  # Let the kernel re-read the partition table

# Identify partitions (assumes each drive has one partition now)
PARTITIONS=("${DISKS[@]/%/1}")

echo "=== STEP 2: Creating LVM Physical Volumes ==="
for part in "${PARTITIONS[@]}"; do
    echo "Creating PV on $part"
    sudo pvcreate --force --yes "$part"
done

echo "=== STEP 3: Creating Volume Group ($VG_NAME) ==="
sudo vgcreate "$VG_NAME" "${PARTITIONS[@]}"

echo "=== STEP 4: Creating Logical Volume ($LV_NAME) ==="
sudo lvcreate -l 100%FREE -n "$LV_NAME" "$VG_NAME"

echo "=== STEP 5: Creating $FS_TYPE filesystem ==="
sudo mkfs.$FS_TYPE "/dev/$VG_NAME/$LV_NAME"

echo "=== STEP 6: Creating and mounting to $MOUNT_POINT ==="
sudo mkdir -p "$MOUNT_POINT"
sudo mount "/dev/$VG_NAME/$LV_NAME" "$MOUNT_POINT"

echo "=== STEP 7: Adding to /etc/fstab for persistence ==="
UUID=$(sudo blkid -s UUID -o value "/dev/$VG_NAME/$LV_NAME")
echo "UUID=$UUID $MOUNT_POINT $FS_TYPE defaults 0 2" | sudo tee -a /etc/fstab

echo "Done: Your media volume is mounted at $MOUNT_POINT"
Copy and paste this to a text file with nano:
nano setup_media_pool.shThen make it executable:
chmod +x setup_media_pool.shTo run it, type:
sudo ./setup_media_pool.sh
…and it will set it upo for you. If you don’t have 3 extra drives, remove sdc and sdd, but you must realise that this operation will delete all the data on these drives so make sure you want to do this as this cannot be gone back on.
Then I configured Samba file sharing with the following smb.conf so that only machines in my local network 192.168.0.* could access it.
[global]
   server string = Media Server
   workgroup = WORKGROUP
   netbios name = MEDIASERV
   server role = standalone server
   map to guest = Bad User
   log file = /var/log/samba/log.%m
   max log size = 1000
   dns proxy = no

   # Restrict access to local network only (optional but recommended)
   interfaces = lo enp0s3 192.168.0.0/24
   bind interfaces only = yes

   # Enable guest access
   security = user
   guest account = nobody
   usershare allow guests = yes

# Disable unused services
   load printers = no
   disable spoolss = yes
   printing = bsd

# Media Share
[MEDIA]
   comment = Shared Media Storage
   path = /mnt/media
   browseable = yes
   writable = yes
   guest ok = yes
   public = yes
   create mask = 0775
   directory mask = 0775
   force user = nobody
   force group = nogroup
Test the configuration first:
sudo testparm
sudo systemctl restart smbd
and then check the permissions of the shared folder:
sudo chown -R nobody:nogroup /mnt/media
sudo chmod -R 775 /mnt/media
I did have to create a Samba user to log in as:
sudo smbpasswd -a smbsharer…and then set a password, after which you enable it with the following:
sudo smbpasswd -e smbsharer…and you’re done! From Windows, map a network drive to \\MEDIASHARE\MEDIA and enter the user smbsharer and the password you set, and you are connected.

No responses yet